
Hammertime Batrep – 29th Aug 2012
Tau/Necron Alliance (David B) Vs Blood Angel (Relictors) Space Marines (Shane) – 750 points each
The mission was “Crusade” and we had rolled quite low for terrain pieces. We rolled for deployment and got the diagonal setup with Space Marines getting the ruined building while the Tau had to make do with a low fence the crater and the back of the forest. Three objectives, worth 3 points each, were placed by Frank, one dead centre and one off to either side just out of initial reach of the deployment zones.
Tau-Necron Alliance:
Tau Commander with 2 Gun Drone in reserve
2 squads of 6 Fire Warriors – one with a sergeant and drone.
1 x Broadside battlesuit
Necron Overlord – Pretty much had everything he was allowed to take other than the invulnerable save which at 45 points was to high a price to pay.
5 man Necron Warrior squad
4 bases of Scarabs
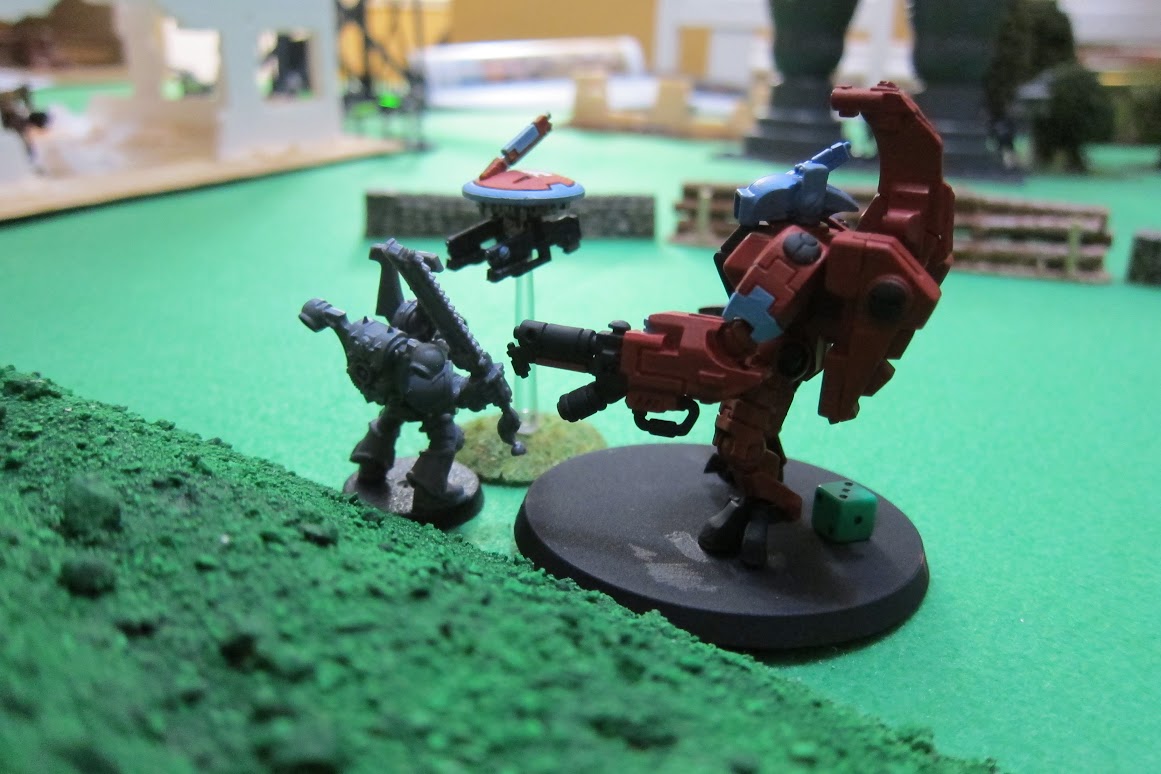
1 x Spyder with twin linked blast weapon
Space Marines:
1 x Space Marine Commander with Jump Pack
2 x 5 man Devastator squads both with Lascannons and missile launchers
3 x Space Marine Assault squads with Sergeant’s and close combat weapons
Night fighting came in on turn 1!
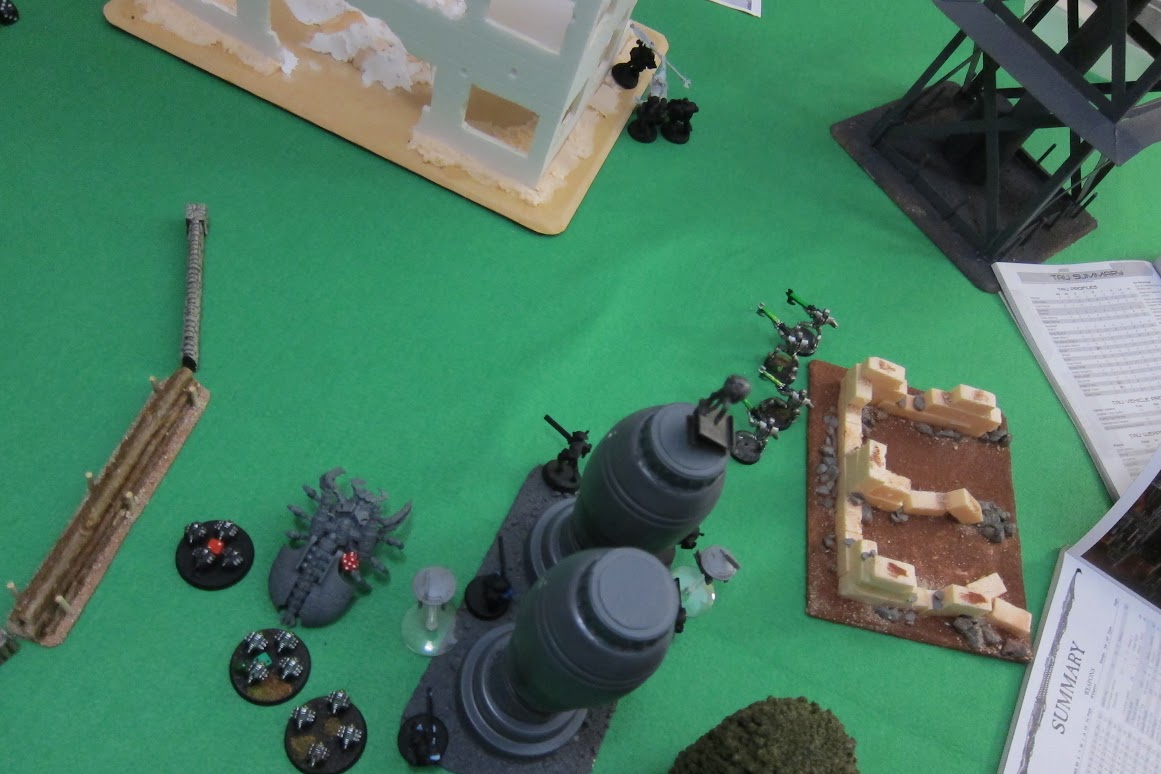
Shane won the roll off and chose to deploy first and go first. Shane split his force with an assault squad and devastator squad holding the ruins and the rest positioned on the hill at the rear or in the middle to head for the other objective.
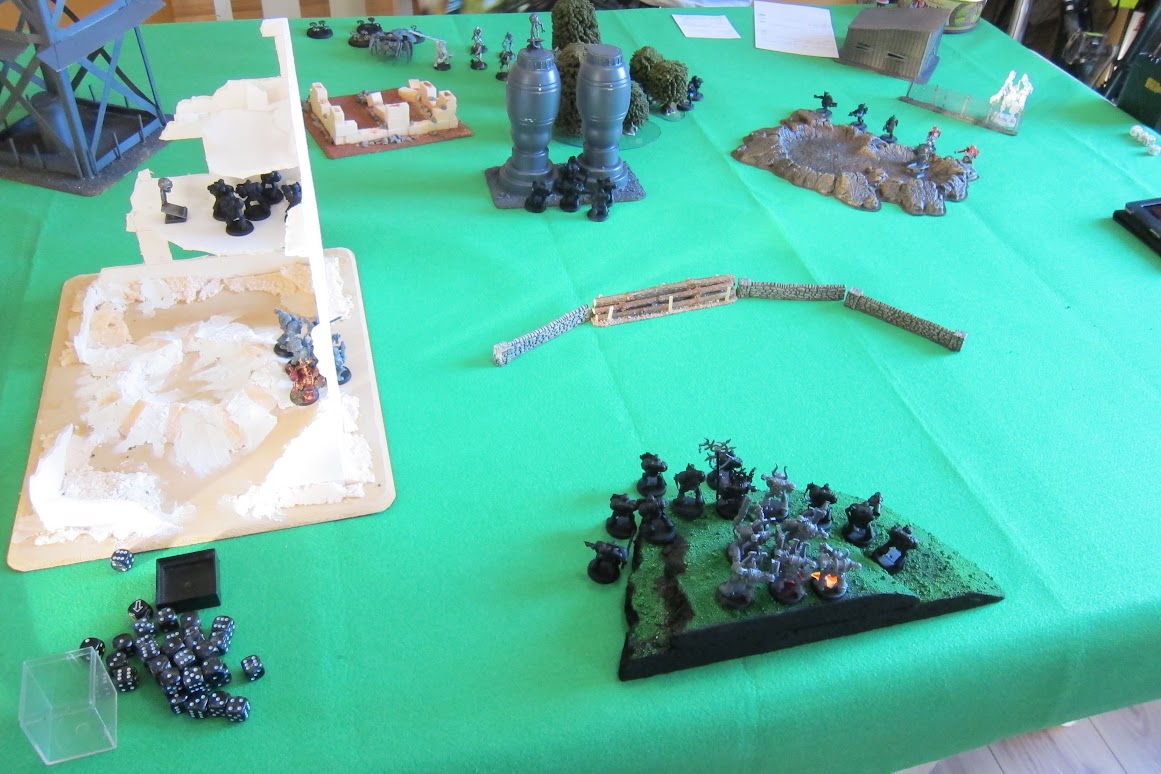
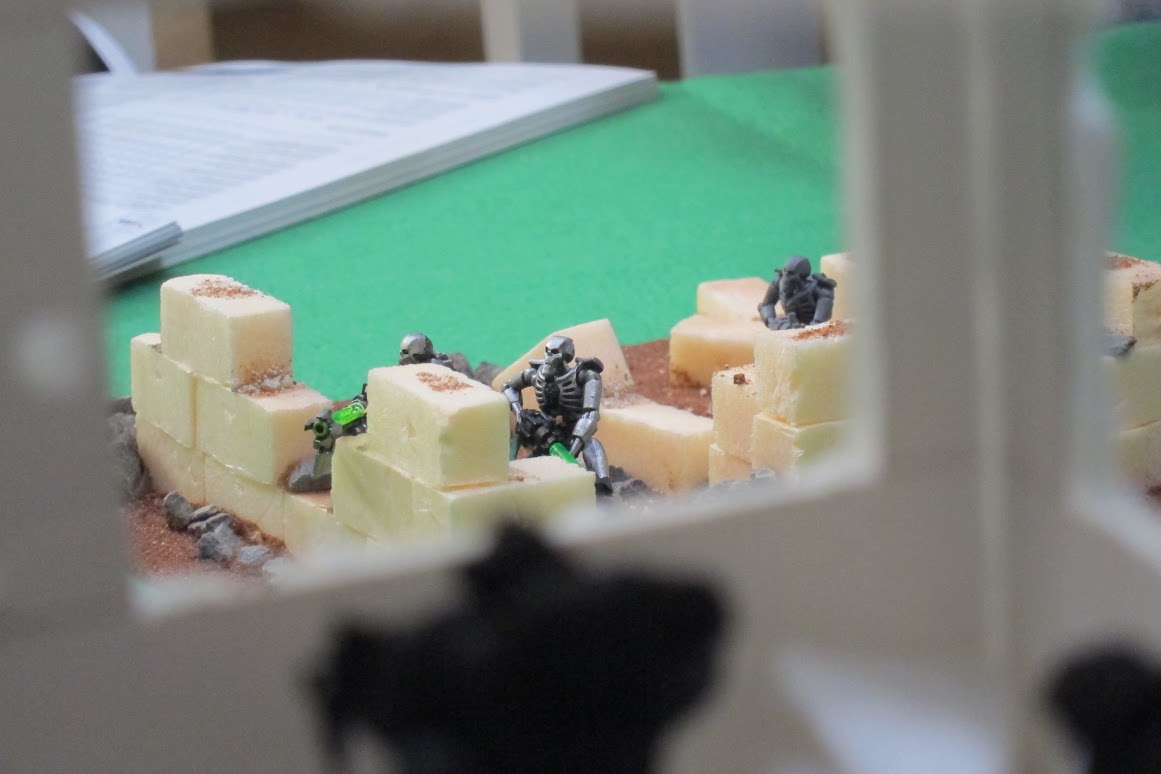
I deployed with a fire warrior squad on my objective and the broadside to back them up. The fire warrior squad in the forest ready to go for the middle and the Necron force on the wing to sweep around for the third and final objective.

Turn 1 – Space Marines
I couldn’t seize the initiative so Shane kept first turn. As you can see from the photo, Shane held both the objective in the middle of the table and deployment zone in his first movement phase. The shooting phase did no damage at all with the the night rules in play the lascannon and missile launcher shots were about the only thing that could fire and missed or were saved because of the shrouded cover saves.
Tau
The Tau movement was limited to moving the Spyder and Scarab swarms towards the middle objective. This was instead of sweeping around to flank. The Tau Fire Warriors were never going to win an assault on that location so stayed in the forest cover. The Overlord and Warriors moved into the low lying ruins. Now the Marines were within night fighting range, both Fire Warrior squads and the Broadside opened up on Assault squad #2 taking out 5 marines. The Spyder and Scarabs charged into Assault squad #1 on the centre objective, taking no wounds to overwatch. The assault marines were crushed to a single man who ran for cover and the Spyder consolidated behind the towers. We must remember Overwatch rolls and I have to stop slipping back into older editions!

Points:
SM – 3
Tau – 4
Turn 2 – Space Marines
Shane went to ground with the assault marines #3 stationed on his objective just to make sure the Necrons couldn’t take any shots at them. The devastator squad moved down off the hill to make sure it had range on the allied force. What was left of the Assault Squad #2 jet packed to in front of the crater to charge them in the Assault phase.
Both Devastator squads targeted the broadside with the lascannons. The marine firing the snap shot got a lucky hit and the broadside went down in a heap of molten crisis armour!
Assault Squad ‘#2 failed it’s charge through difficult terrain and didn’t make contact with the Tau sat just a couple of inches out of reach!

Tau
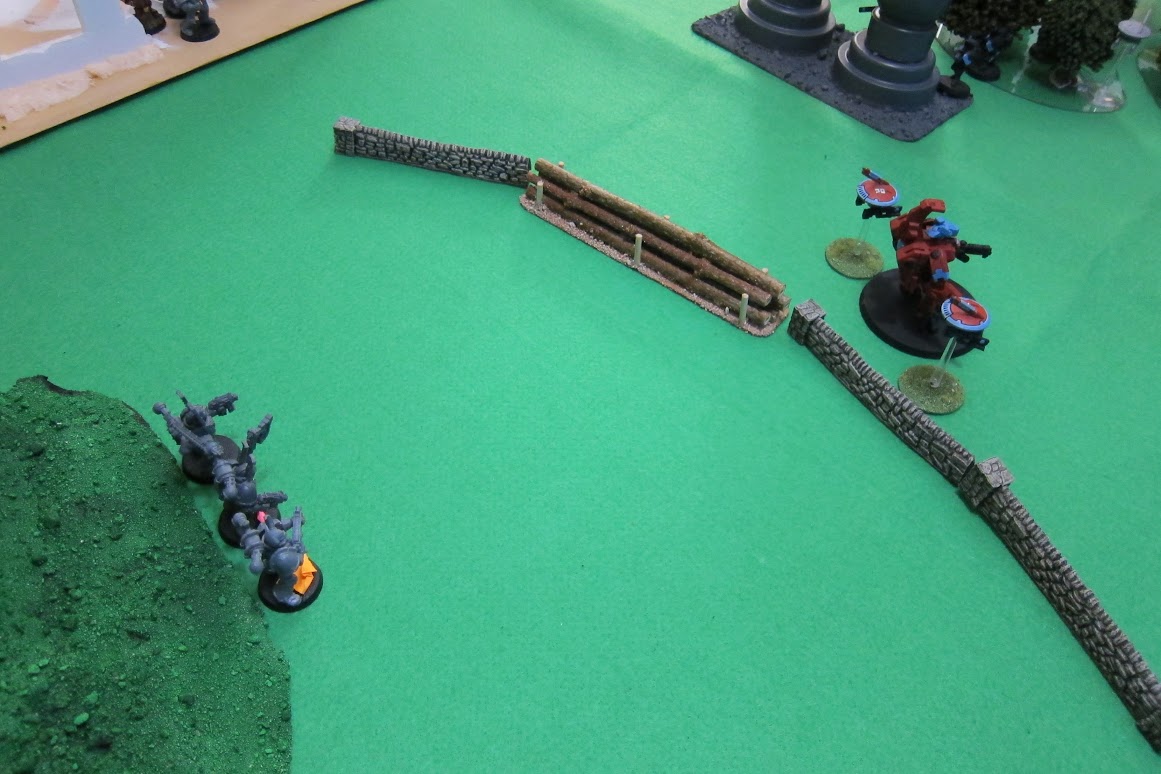
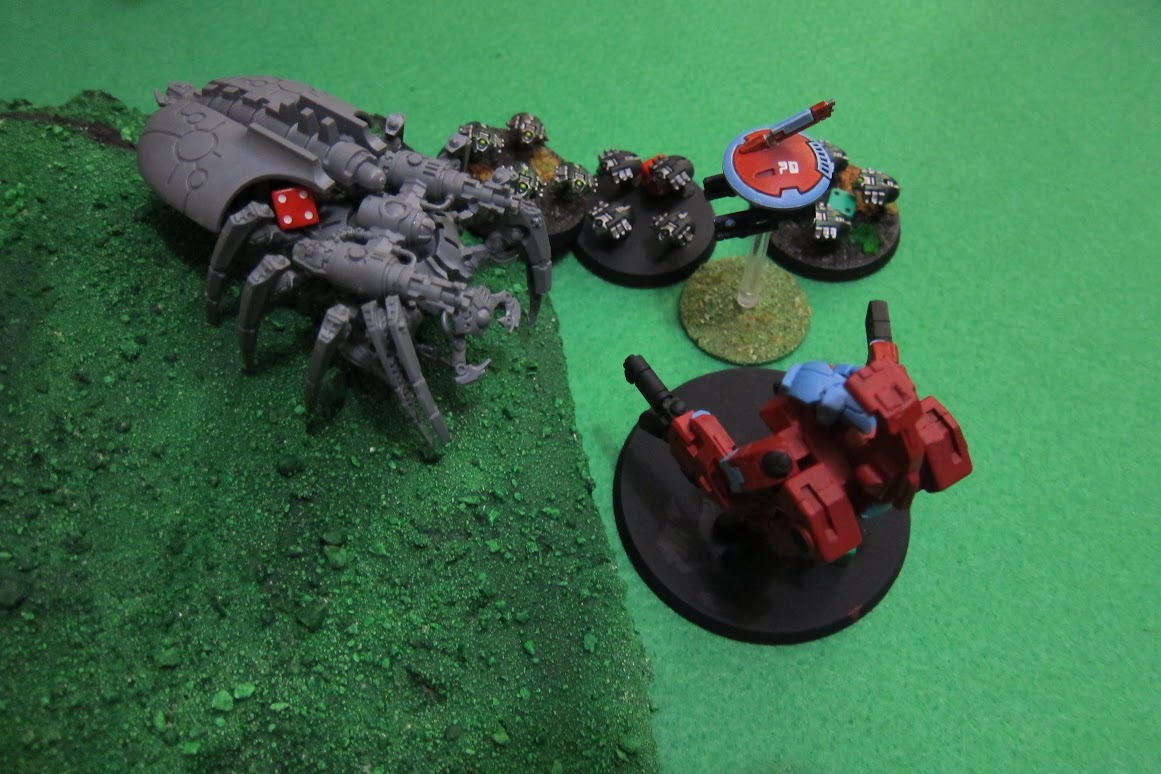
The Tau Commander deep striked right in front of the Devastator Squad but missed by about 6 inches. The Spyder and Scarab swarms moved to intercept Assault squad #2. They couldn’t hold the centre objective anyway and the Tau would be no match for the Marines again. The Necron force continued its advance on the third objective losing one warrior to a dangerous terrain test that repaired and got back up at the end of the turn.
Both Fire Warrior squads opened up into the stranded Assault squad to soften it up before the charge of the swarm and reduced the number of marines to 5.
The Necrons fired at the Devastator squad in the ruins killing 1.
The Tau commander fires into the Devastator squad in front of the hill and takes out 2.
The Spyder swarm charging into Assault squad #2 and the SM Commander. The scarabs lost combat by 4 wounds and fell back while the Spyder held its ground. The remaining marines pile in on the Spyder.
The Tau commander charges into the Squad only to lose combat by 2 and falls back!

Points:
SM – 4
Tau – 4
Turn 3 – Space Marines
Both Devastator squads open up on the Tau Commander taking out one of his drones. Assault Squad #3 fired on the Necron Warrior squad bearing down on there location.
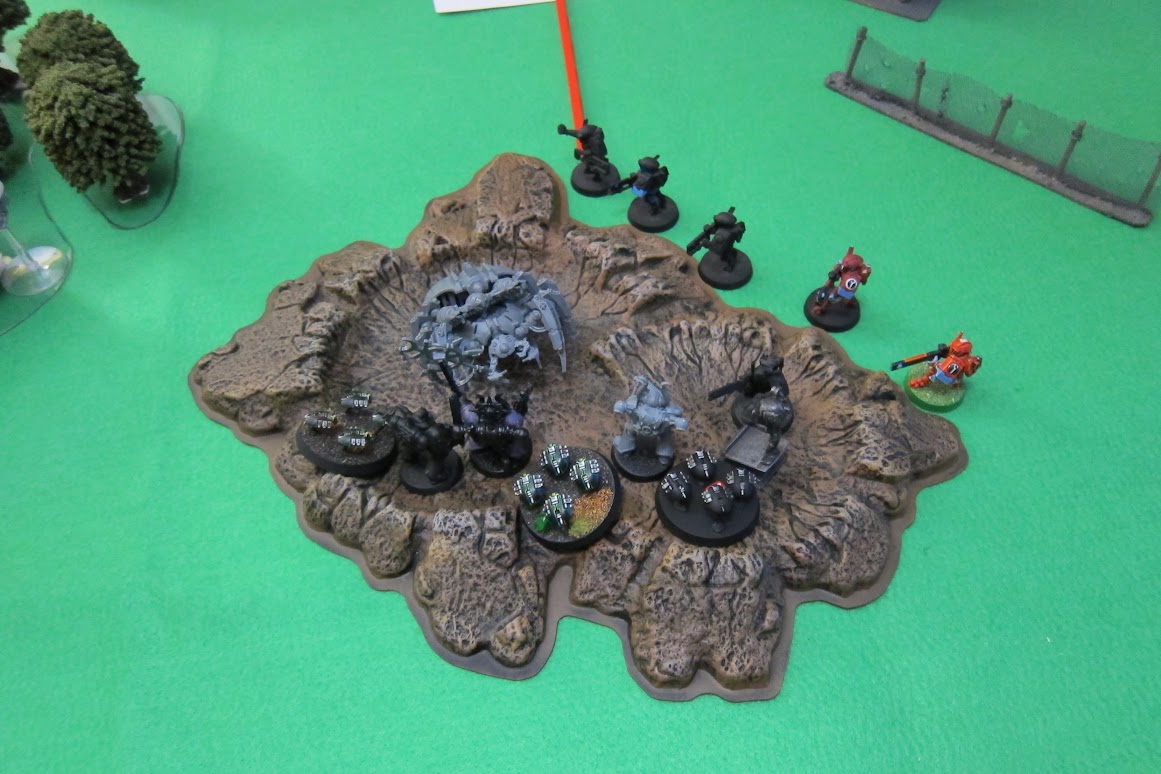
The Assault in the crater is a stalemate with neither side making any impact at all.
Tau
The Tau Commander and the scarabs regroup and move into charge range of the respective little battles they have going on.
The Necrons continue there advance on the ruins and the two Fire Warrior squads move to better locations to get good line of sight with what is left of the Devastator squads.
The fire warriors and Necron Warriors plus the single shot from the Overlord reduce both Devastator squads to a single model each.
The Tau Commander and Swarm charge into combat. The Tau commander is thwarted yet again and the combat is drawn while the scarab swarm fairs a little better this time. Although they lose the combat by 2 and the Spyder takes a wound from the SM Commander removing his armour save for the rest of the game with the entropic strike and luckily hold their ground.
Points:
SM – 4
Tau – 4
Turn 4 – Space Marines
Assault Squad #3 charges into the Necron Warriors and Overlord at the base of the third objective. The remaining Devastator not in combat does the same. The Overlord Mindshackles one of the Assault squad but the remaining members manage three wounds. Nooooo problem I though….2+ armour save! 1…….1……..1 wtf! Overlord down, Overlord down! plus a warrior! The mindshackled marine manages to take out 1 marine! The necron warriors lose there cool at the sight of the overlord in bits at their feet and run! Leaving the fallen Warrior to self destruct.
The Overlord resurrects and comes back with two wounds.
The Tau Commander combat is once again a stalemate with that Devastator Marine putting up a fight and a half!
The Crater Assault doesn’t go well for the Marines and with No armour save available to the commander the remainder of the force with him is also wiped out this turn.

Tau
The Necrons regroup and the fire Warrior squad moves for better line of sight on the Assault Squad. Looking back now we should have made a consolidation move on the Assault squad which may have help them survive a little longer.
The Swarms and Spyder moved up to help.
Shooting softened up the squad to 3 marines and finally 1 once the Overlord had had his revenge!

Points:
SM – 2
Tau – 10
Turn 5 – Space Marines
The two single marines lasted another combat round!

Tau –
But not this one!
Final Points:
SM – 2
Tau – 15
Conclusion:
Shane was incredibly Marine heavy, and expensive! While my cheap troop choices allowed me to have cheap objective scoring units sat almost out of harms way while the more expensive hard hitting units roamed the board.
The Tau Commander model has been the same in all my other encounters so far and that is quite poor. He’s about 120 points with the drones and is very average all round I just can’t seem to get the best from him. The Fire Warriors showed again what damage those Strength 5 Pulse Rifles can do. In the Overlord I may have just found an answer to the Archon of Franks! Especially if I can get a Cryptek in there as well. muhahah! The swarms were great and not to expensive. Plus with the Spyder almost protecting them all the time with it’s armour save they made a lot of trouble together. I never even got to fire the twin linked blast weapon on top!
I can only presume something like scouts or a couple of basic 5 man Tactical squads for Shane might be a cheaper option for objective grabbing. Would maybe balance a small force like that out. Give him the points to be able to bring a dreadnought/tank or terminators.

Good batrep! Was nice to sit back and watch, and see how everything unfolded.
I can’t help think that knowing the mission type ahead of time would help loads, or if everything is rolled randomly maybe give both sides 10-15 minutes to make up a list tailored for the mission. Right now I think we’re having trouble coming up with good ‘all-rounder’ battle forces. Just something to think about maybe!
The battle sounds very good! Just a rules query springs to mind, maybe its just how I am reading it, but when Shane let his Assault Marines go to ground it sounds like he did it on his own turn? As I understand it you “go to ground” in response to a shooting attack, either voluntarily to improve your cover save or involuntarily as a result of being pinned.
Another win for David’s Tau / Necrons, they seem as invincible as Jack’s Dark Angels, but as someone once said “there can be only one”, I think there will have to be a face off between those two armies sooner or later!